
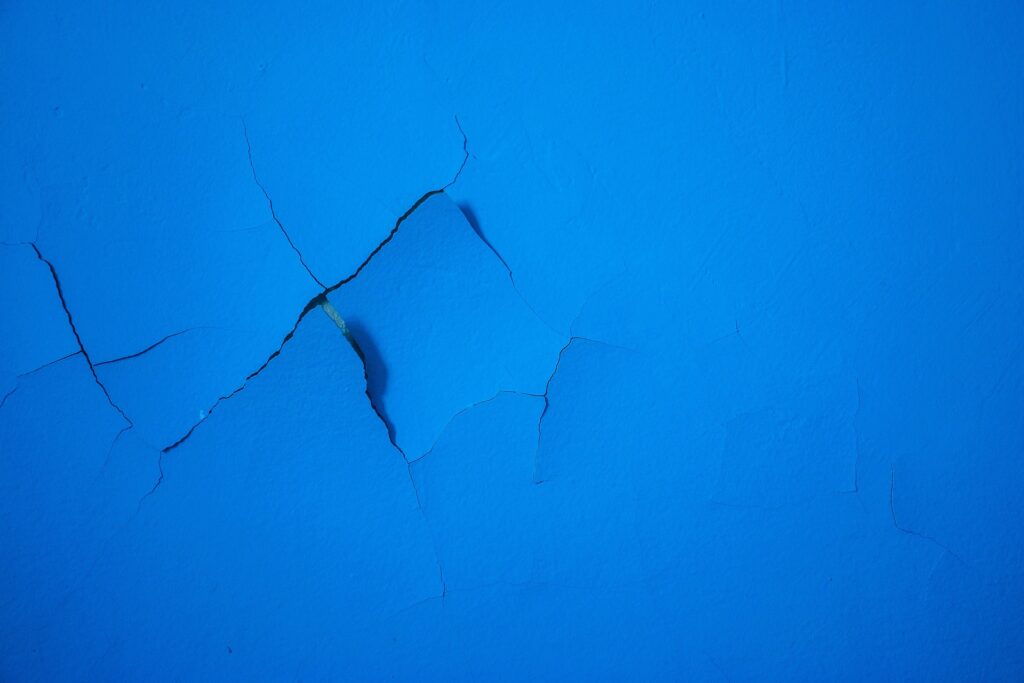
Some projects are too complicated to DIY. Thankfully, plaster wall repair is not one of them. With our tips and tricks to repair cracked plaster walls, you’ll get the job done smoothly!
Check if the plaster has detached
The first step to repairing cracked plaster walls is checking if the cracked area has detached from the wood lath. Wood lath is the horizontal strips of wood actually attached to your wall that plaster ‘hangs’ on. You can check if it’s detached simply by pressing lightly on the area around the crack. If there’s any sagging inward, or if you can noticeably press it down, it means that the plaster has partially detached itself from the lath. This can even be the underlying reason why the crack developed in the first place. Of course, if you’ve properly considered what building material you wanted in your home, then you know that this is a situation you can salvage, but it will require a few extra steps added to the process.
Steps to follow if the plaster is detached
Start by drilling holes
The first thing you need to do is carefully drill through the plaster around the cracks. Note that you want to do this directly above the wooden lath since your goal is to reach it. If you fail to locate the best area to drill into your wall, you’ll be forced to repeat the process until you have surrounded the area in a series of holes four inches apart on both sides of the crack. It is recommended to use a 3/16-inch masonry bit and distance the holes around two inches from the crack. If you made any unwanted holes that don’t reach the wood lath, mark them out. They need to be refilled, but the following two steps do not apply to them!
Apply conditioner and adhesive
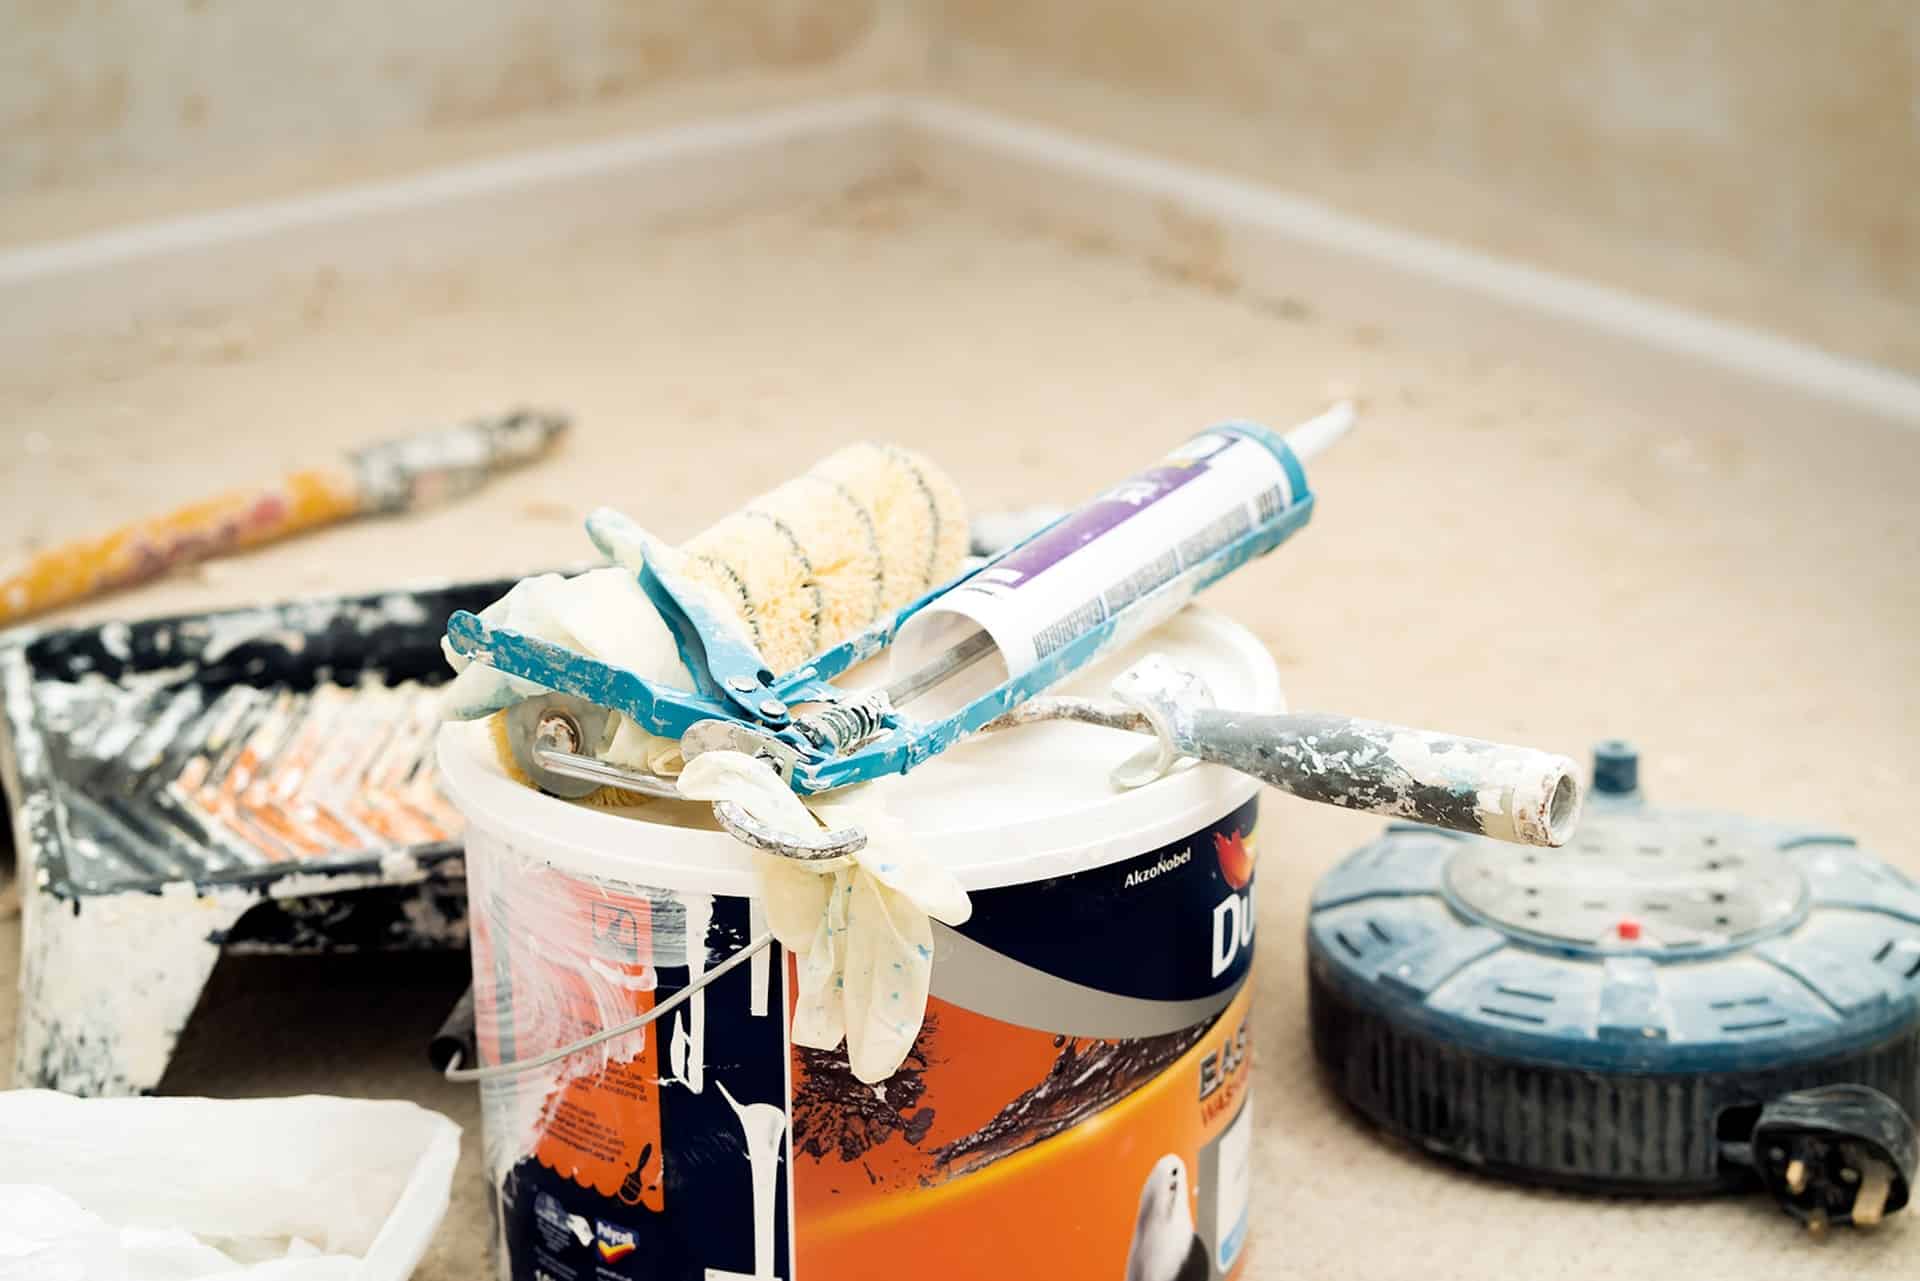
The next step required to repair cracked plaster walls that have detached properly is applying the condition and adhesive. The acrylic conditioner should be applied first, and the use of protective goggles, a mask, and gloves is recommended. You will simply spray one or two squeezes of the condition into each hole you made. But not the ones that do not reach lath! You should spray the edges of the crack, and then clean up any dripping with a wet sponge. About ten minutes later, you can start injecting the adhesive with a caulking gun. You should apply enough adhesive to fill in the holes and let just a little back out around the nozzle of your caulking gun. Scrape off any adhesive that made it out of the holes, and then clean the wall with a wet sponge.
Secure the plaster
The next thing you need to do is make sure that the plaster gets properly attached to the wood lath again. To do this, you should get plastic washers and drywall screws. Simply drive the screws through the adhesive-filled holes, which will pull the plaster against the lath forcing the adhesive to spread. The washer is required because it gives you a wider clamping surface. Once you’ve properly applied the screws, you need to wipe away any of the excess adhesives that made it onto your wall with a wet sponge again. You should wait at least a day or two for the adhesive to cure before you back out the screws and scrape off the washers. You can save these for any future repair projects. Do remember, however, that the storage experts from centennialmoving.ca note that they can be rendered unusable by bad storage conditions!
Start by widening and cleaning the crack
In order to prime the crack for further work, you first need to widen it a little and clean it. You can use a knife, a screwdriver, or a similar tool to widen the crack. You just need to insert it into the crack, angle it at about sixty degrees, and then gently run it along the side of the crack. This will carve out some plaster and make for a perfect surface to apply the joint compound later. The crack should become a V-shaped channel. When it comes to cleaning the crack, you don’t need to be particularly careful. You can vacuum it for any leftover bits of plaster and then carefully go over the crack with an old toothbrush to even it out further and clean it out. Vacuum it out again once you’ve done that if needed.
Apply the joint compound the right way
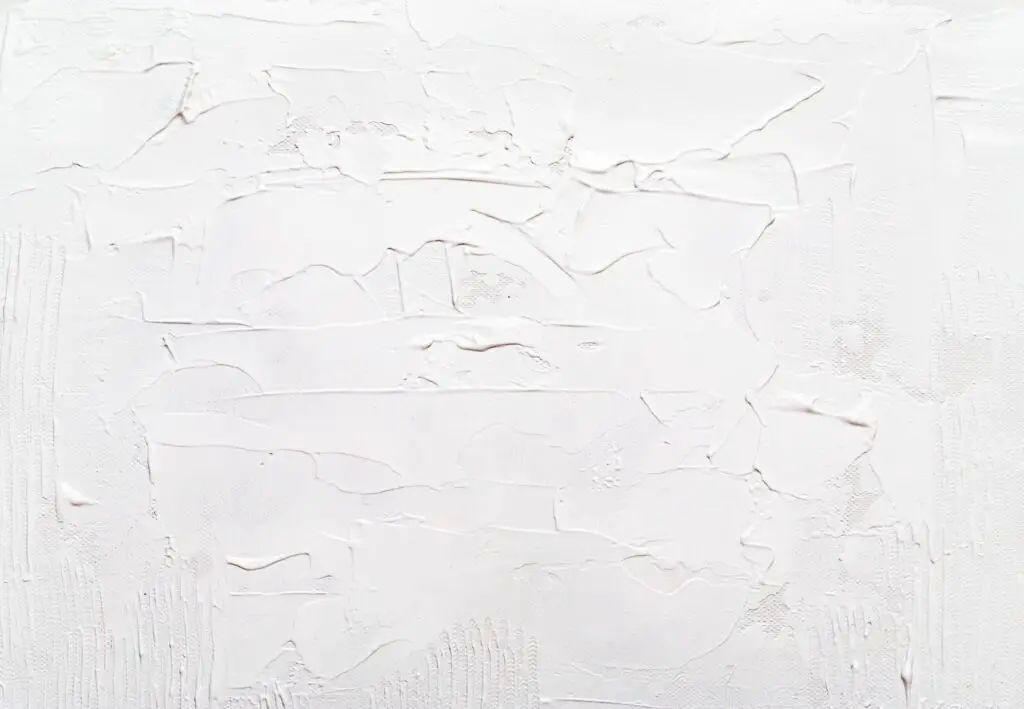
The next step to repair cracked plaster walls is applying the joint compound. You will first spray the area with water lightly and then slowly apply one layer of joint compound. You should fully fill in the crack. Since your mixed joint compound should be the consistency of mud, this makes it stick in there easily. If you’re unsure you can mix the joint compound yourself, just buy a pre-mixed container. You need to smooth the compound down with a trowel. Then, as it slowly hardens, spray it with water and smooth it again. Repeat the process until you are satisfied. Note that if the crack is more than a quarter of an inch wide, you should apply a layer of fiberglass tape over the first layer of the joint compound. Then cover it up with the following layers.
Sand the dried layer if needed
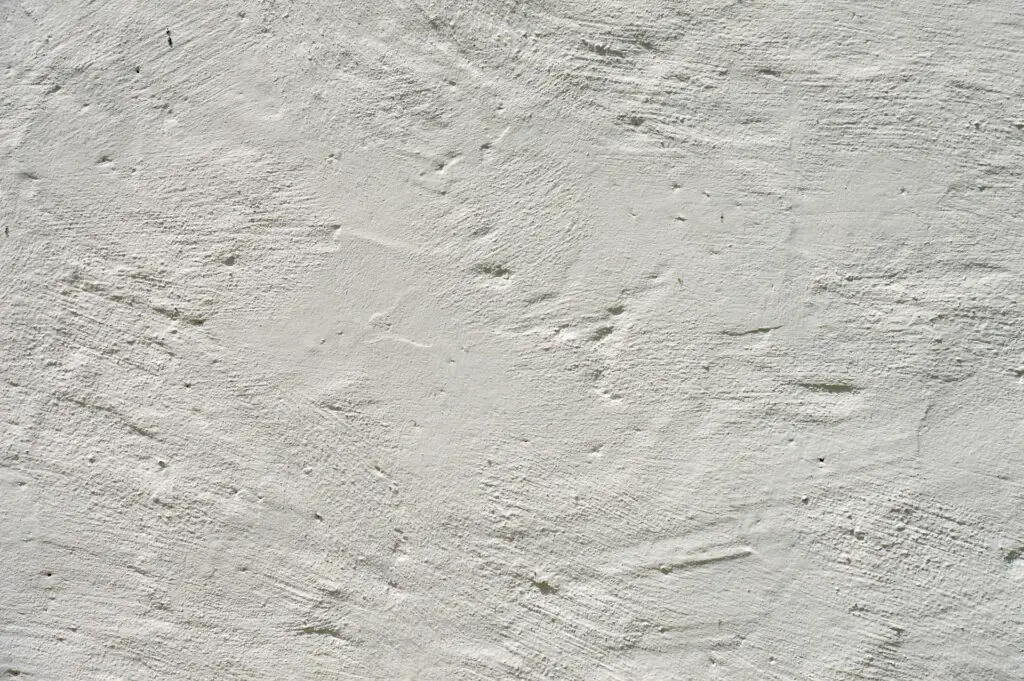
Once you are satisfied with your work in covering the crack, you might notice that it’s a bit higher than the rest of your wall. In this case, you need to use 120 grit sandpaper and slowly apply pressure in circular motions to smooth away the bumps. You can up that to 220 grit sandpaper if you think it’s needed, but don’t go above that. If you’re not sure how to use sandpaper properly, take the time to learn so you can properly take care of your home without damaging the wall again instead!
Smaller cracks and other issues
The final advice on how to repair cracked plaster walls we have to offer concerns hairline cracks and plaster bulging. Both of them are relatively simple, mostly aesthetic problems. You can solve the hairline cracks by sanding away a layer of your plaster and then painting over it. But, in the case of bulging, you may need to replace the outer plaster layer since it is one of the possible reasons why cracks occur.
Taking care of your plaster walls
With our tips and tricks to repair cracked plaster walls, you’ll have them in great condition again in no time! Just remember to work slowly and take the time to learn if you don’t know how to do something.
Picture Links:
https://pixabay.com/photos/blue-wall-plaster-wall-cracked-wall-7058022/
https://pixabay.com/photos/paint-interior-paint-paint-bucket-4191397/
https://pixabay.com/photos/texture-rough-plaster-plaster-wall-1504364/ https://unsplash.com/photos/YS0YJLU_h2k
